April 3rd, 2025
Automate your SEO: Complete Setup Guide
In this guide I'll take you through the full setup to automate your SEO pipeline with Spectre.
It doesn't matter if you have your own website built with something like Next.js or a blog hosted on platforms like WordPress. Spectre works with all of them.
Step 1: Sign up
Head over to spectreseo.com and create your account.
Step 2: Connect your website
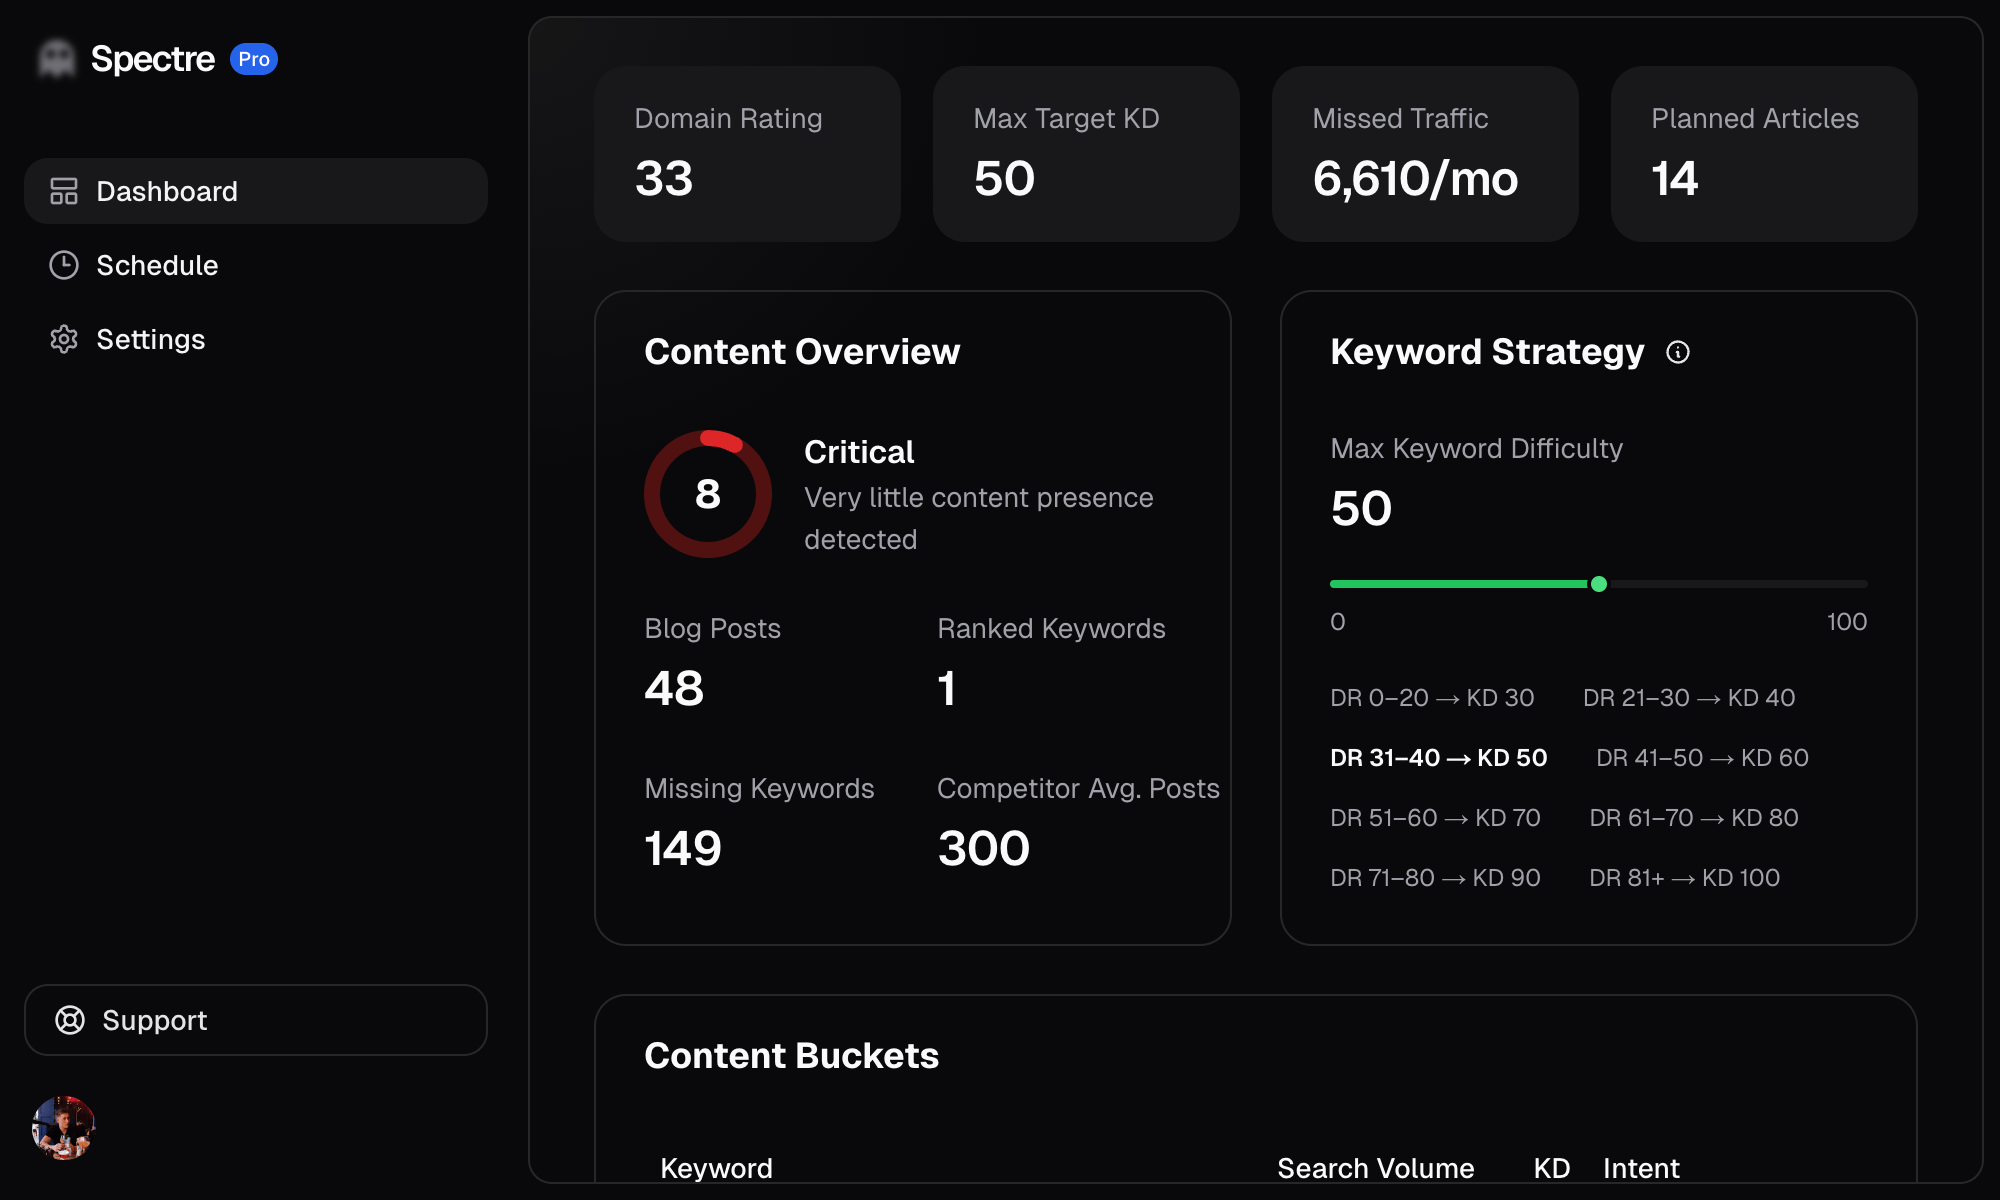
Add your website URL and Spectre will scan your site to understand its content, structure, and SEO profile. Once the scan is complete you'll have a full dashboard covering everything about your site related to SEO.
Step 3: Generate articles
Spectre will automatically research keywords and generate articles for you. You can leave everything on auto-pilot, or take more control.
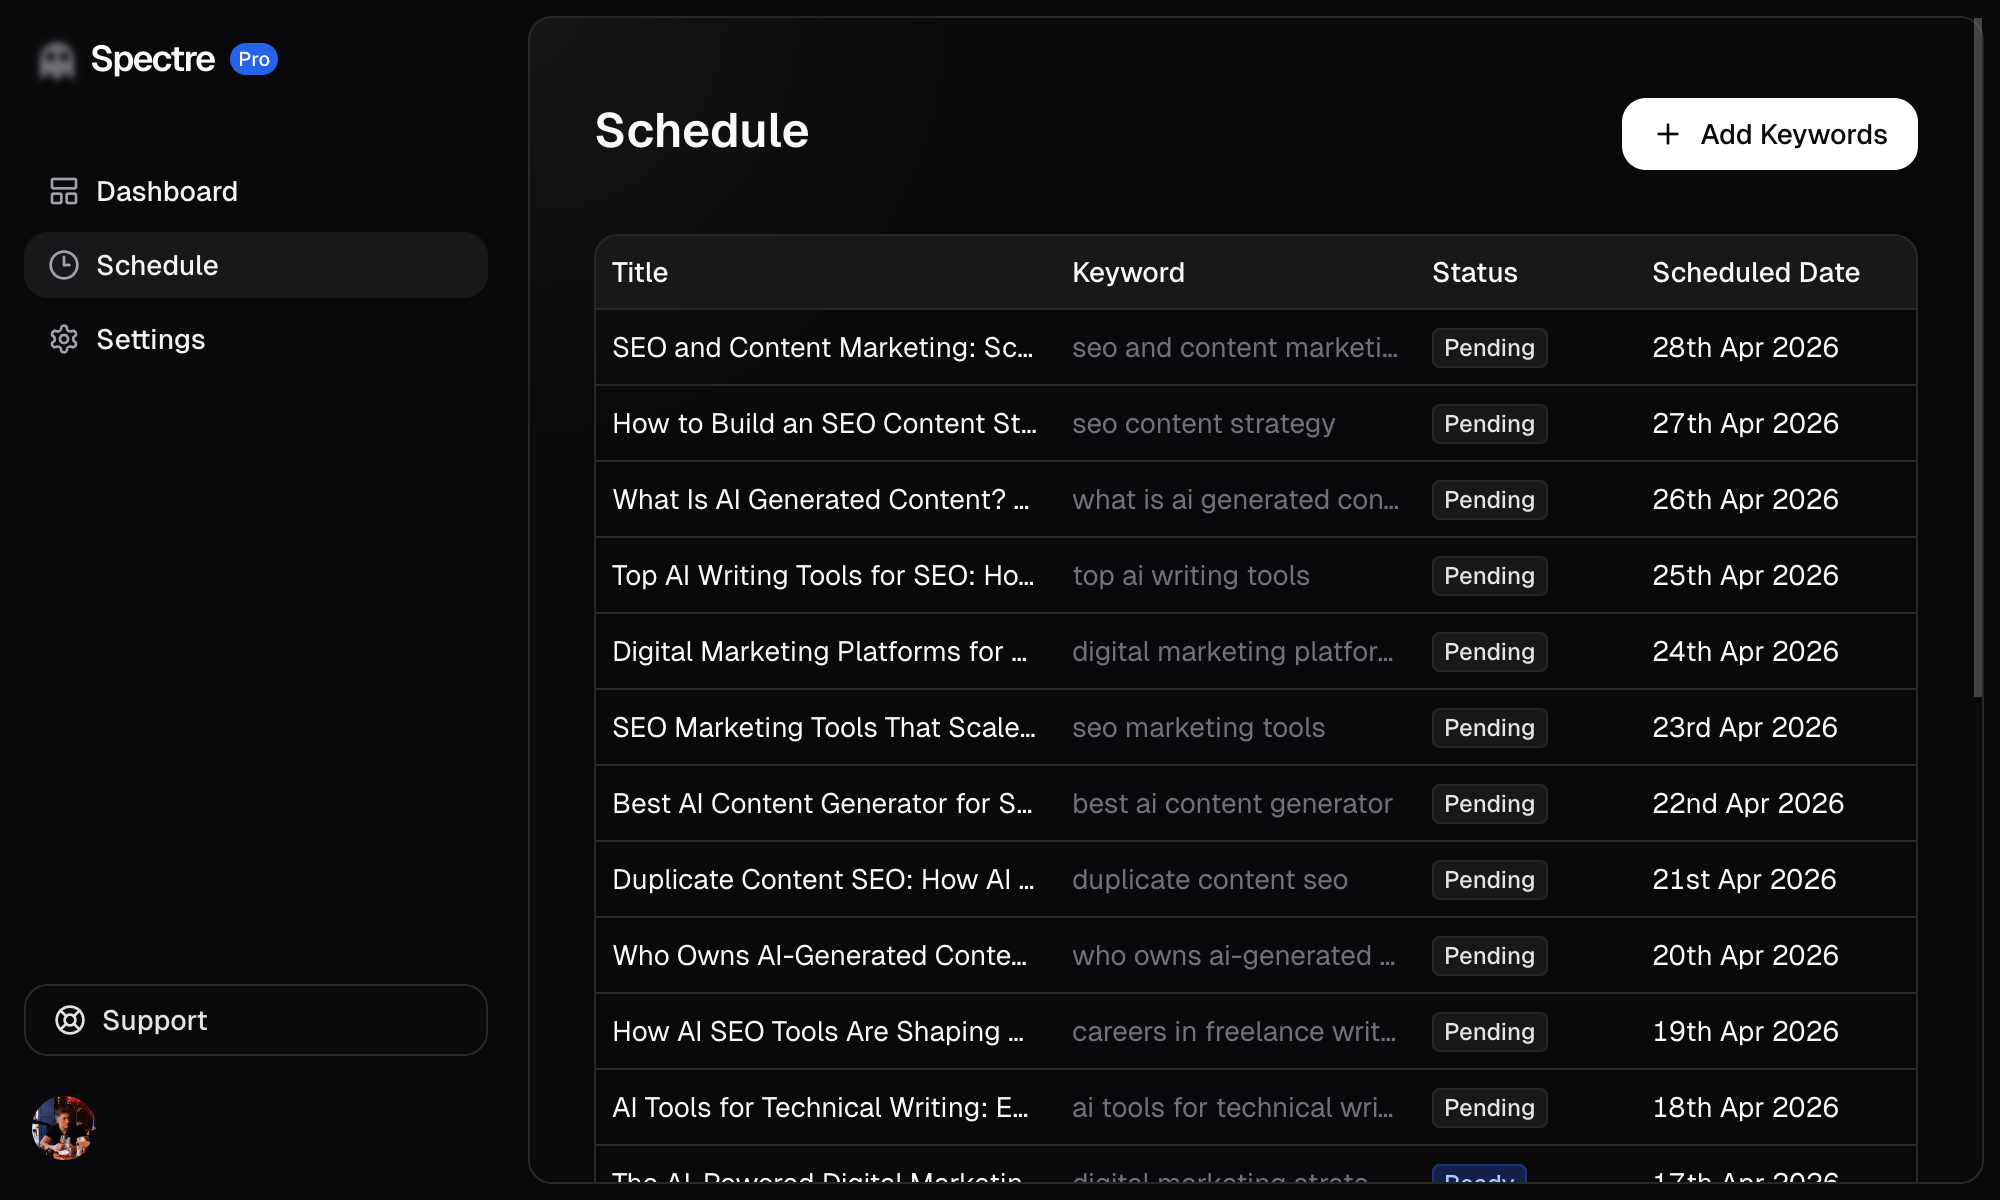
Head to the Schedule page to see all of your upcoming and published articles. Each article shows its target keyword, status, and scheduled publish date.
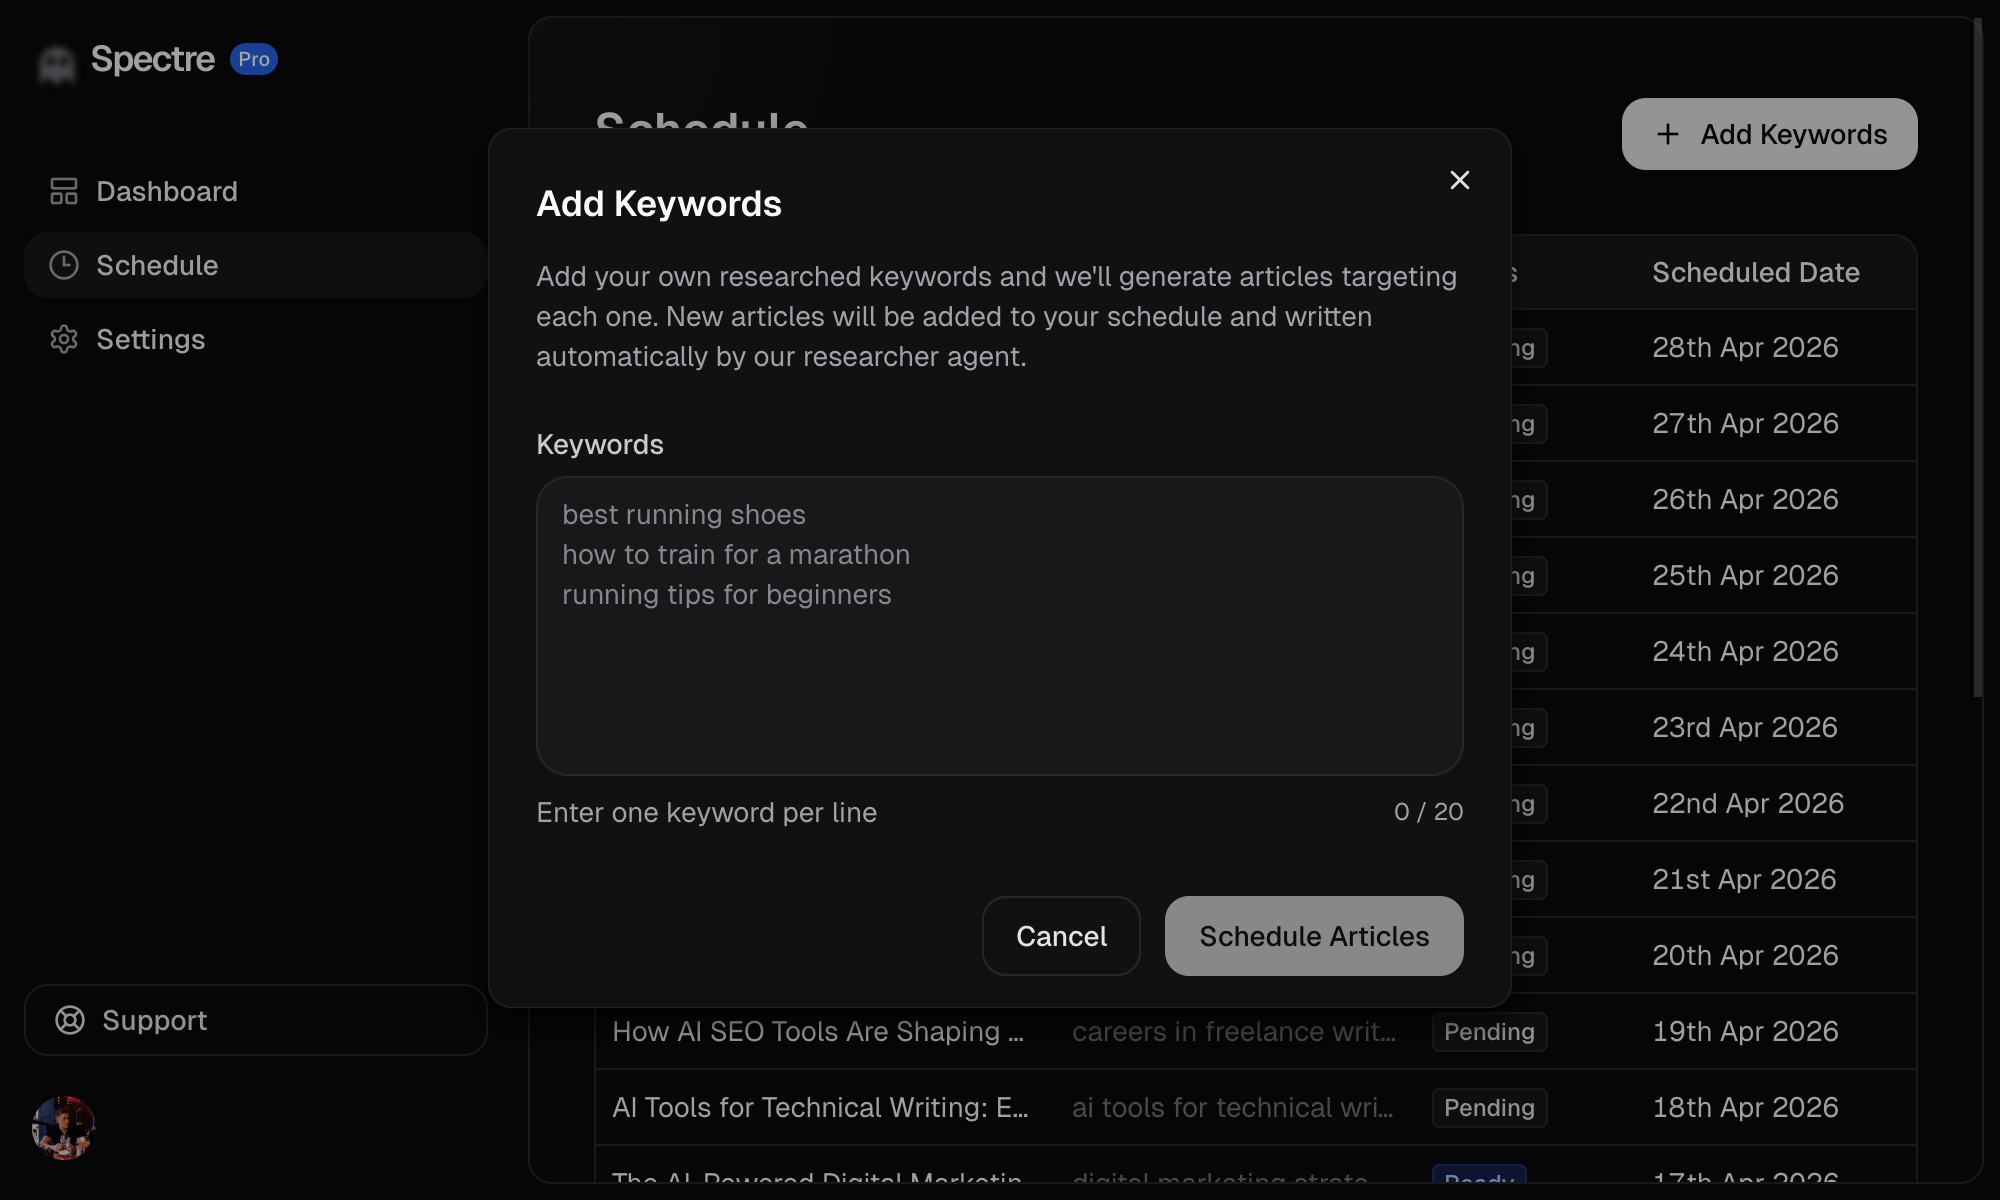
Want to target specific keywords? Click "+ Add Keywords" in the top right. Enter one keyword per line (up to 20 at a time) and hit "Schedule Articles". Spectre will generate an article for each one and add them to your schedule.
You can also click into any generated article and hit Edit to make changes before it goes live.
Step 4: Connect a publishing integration
Hook up your site for automatic publishing so articles go live without any manual uploading. Spectre supports three integration methods:
API
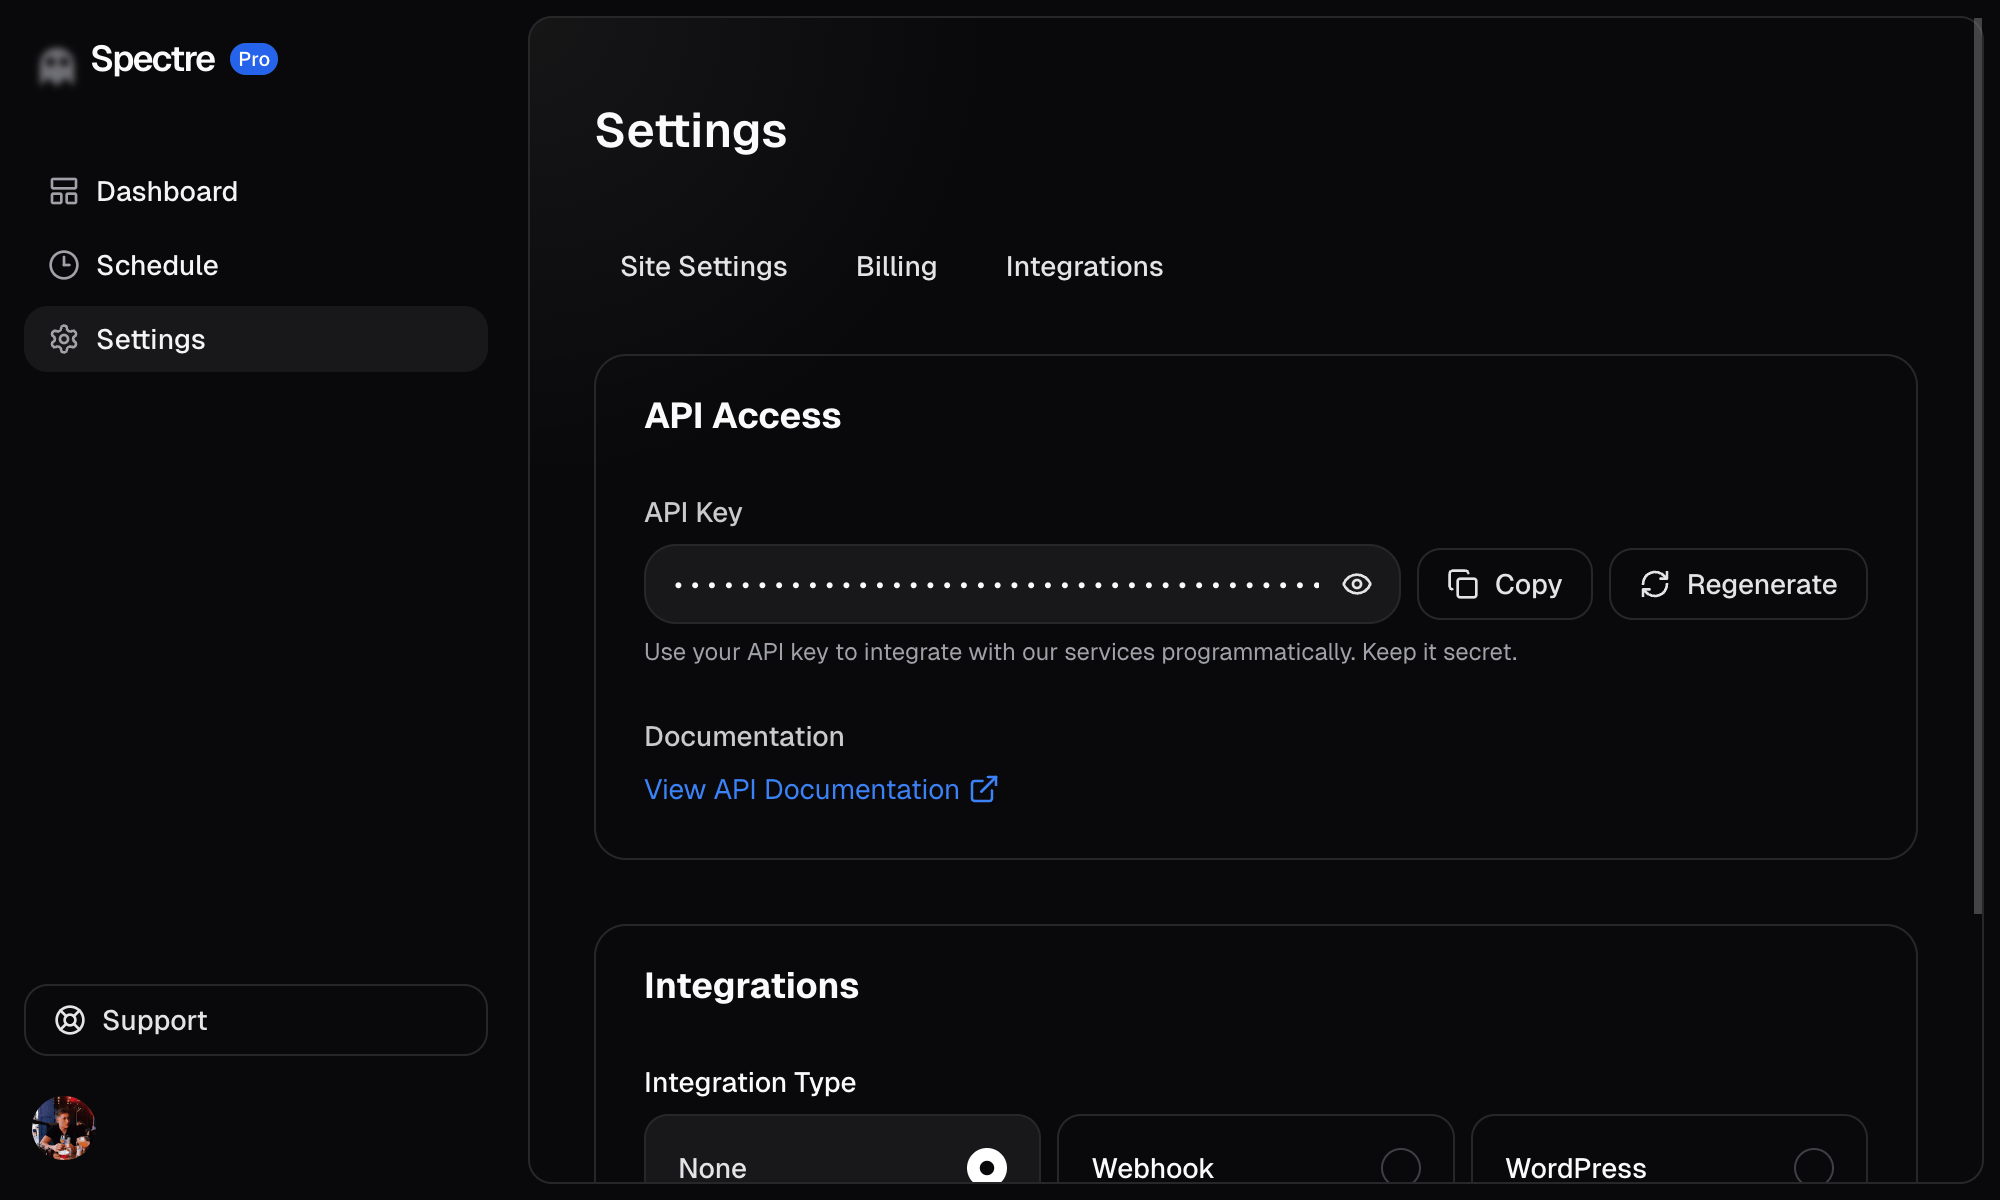
Use the Spectre API to build a custom integration with any website or platform. This is ideal if you have a custom-built site (e.g. Next.js, Astro, Hugo) and want full control over how articles are published.
- Go to Settings > Integrations and select API.
- Copy your API key.
- Use the API to pull published articles into your site.
The API base URL is https://app.spectreseo.com/api/v1.
WordPress
If your site runs on WordPress, this is the easiest way to get started.
- Go to Settings > Integrations and select WordPress.
- Enter your WordPress site URL and authentication details.
- Once connected, Spectre will publish articles directly to your WordPress site.
Webhook
Webhooks let you receive articles via HTTP POST to any endpoint you control. This is great for custom workflows or platforms that support incoming webhooks.
- Go to Settings > Integrations and select Webhook.
- Enter your webhook URL.
- Spectre will send a POST request with the article data whenever an article is ready to publish.